versalogic_vl-mpeu-g2_ntp
Table of Contents
PC Engines APU / Versalogic - NTP server
This guide will help you create an NTP server using the PC Enginges APU system board, the Versalogic GPS module and the StartTech serial port module. I'm using the ATOM PPS refclock source, because PPS is'nt provided via /dev/ttyACM0.
Documentation
Prepare hardware
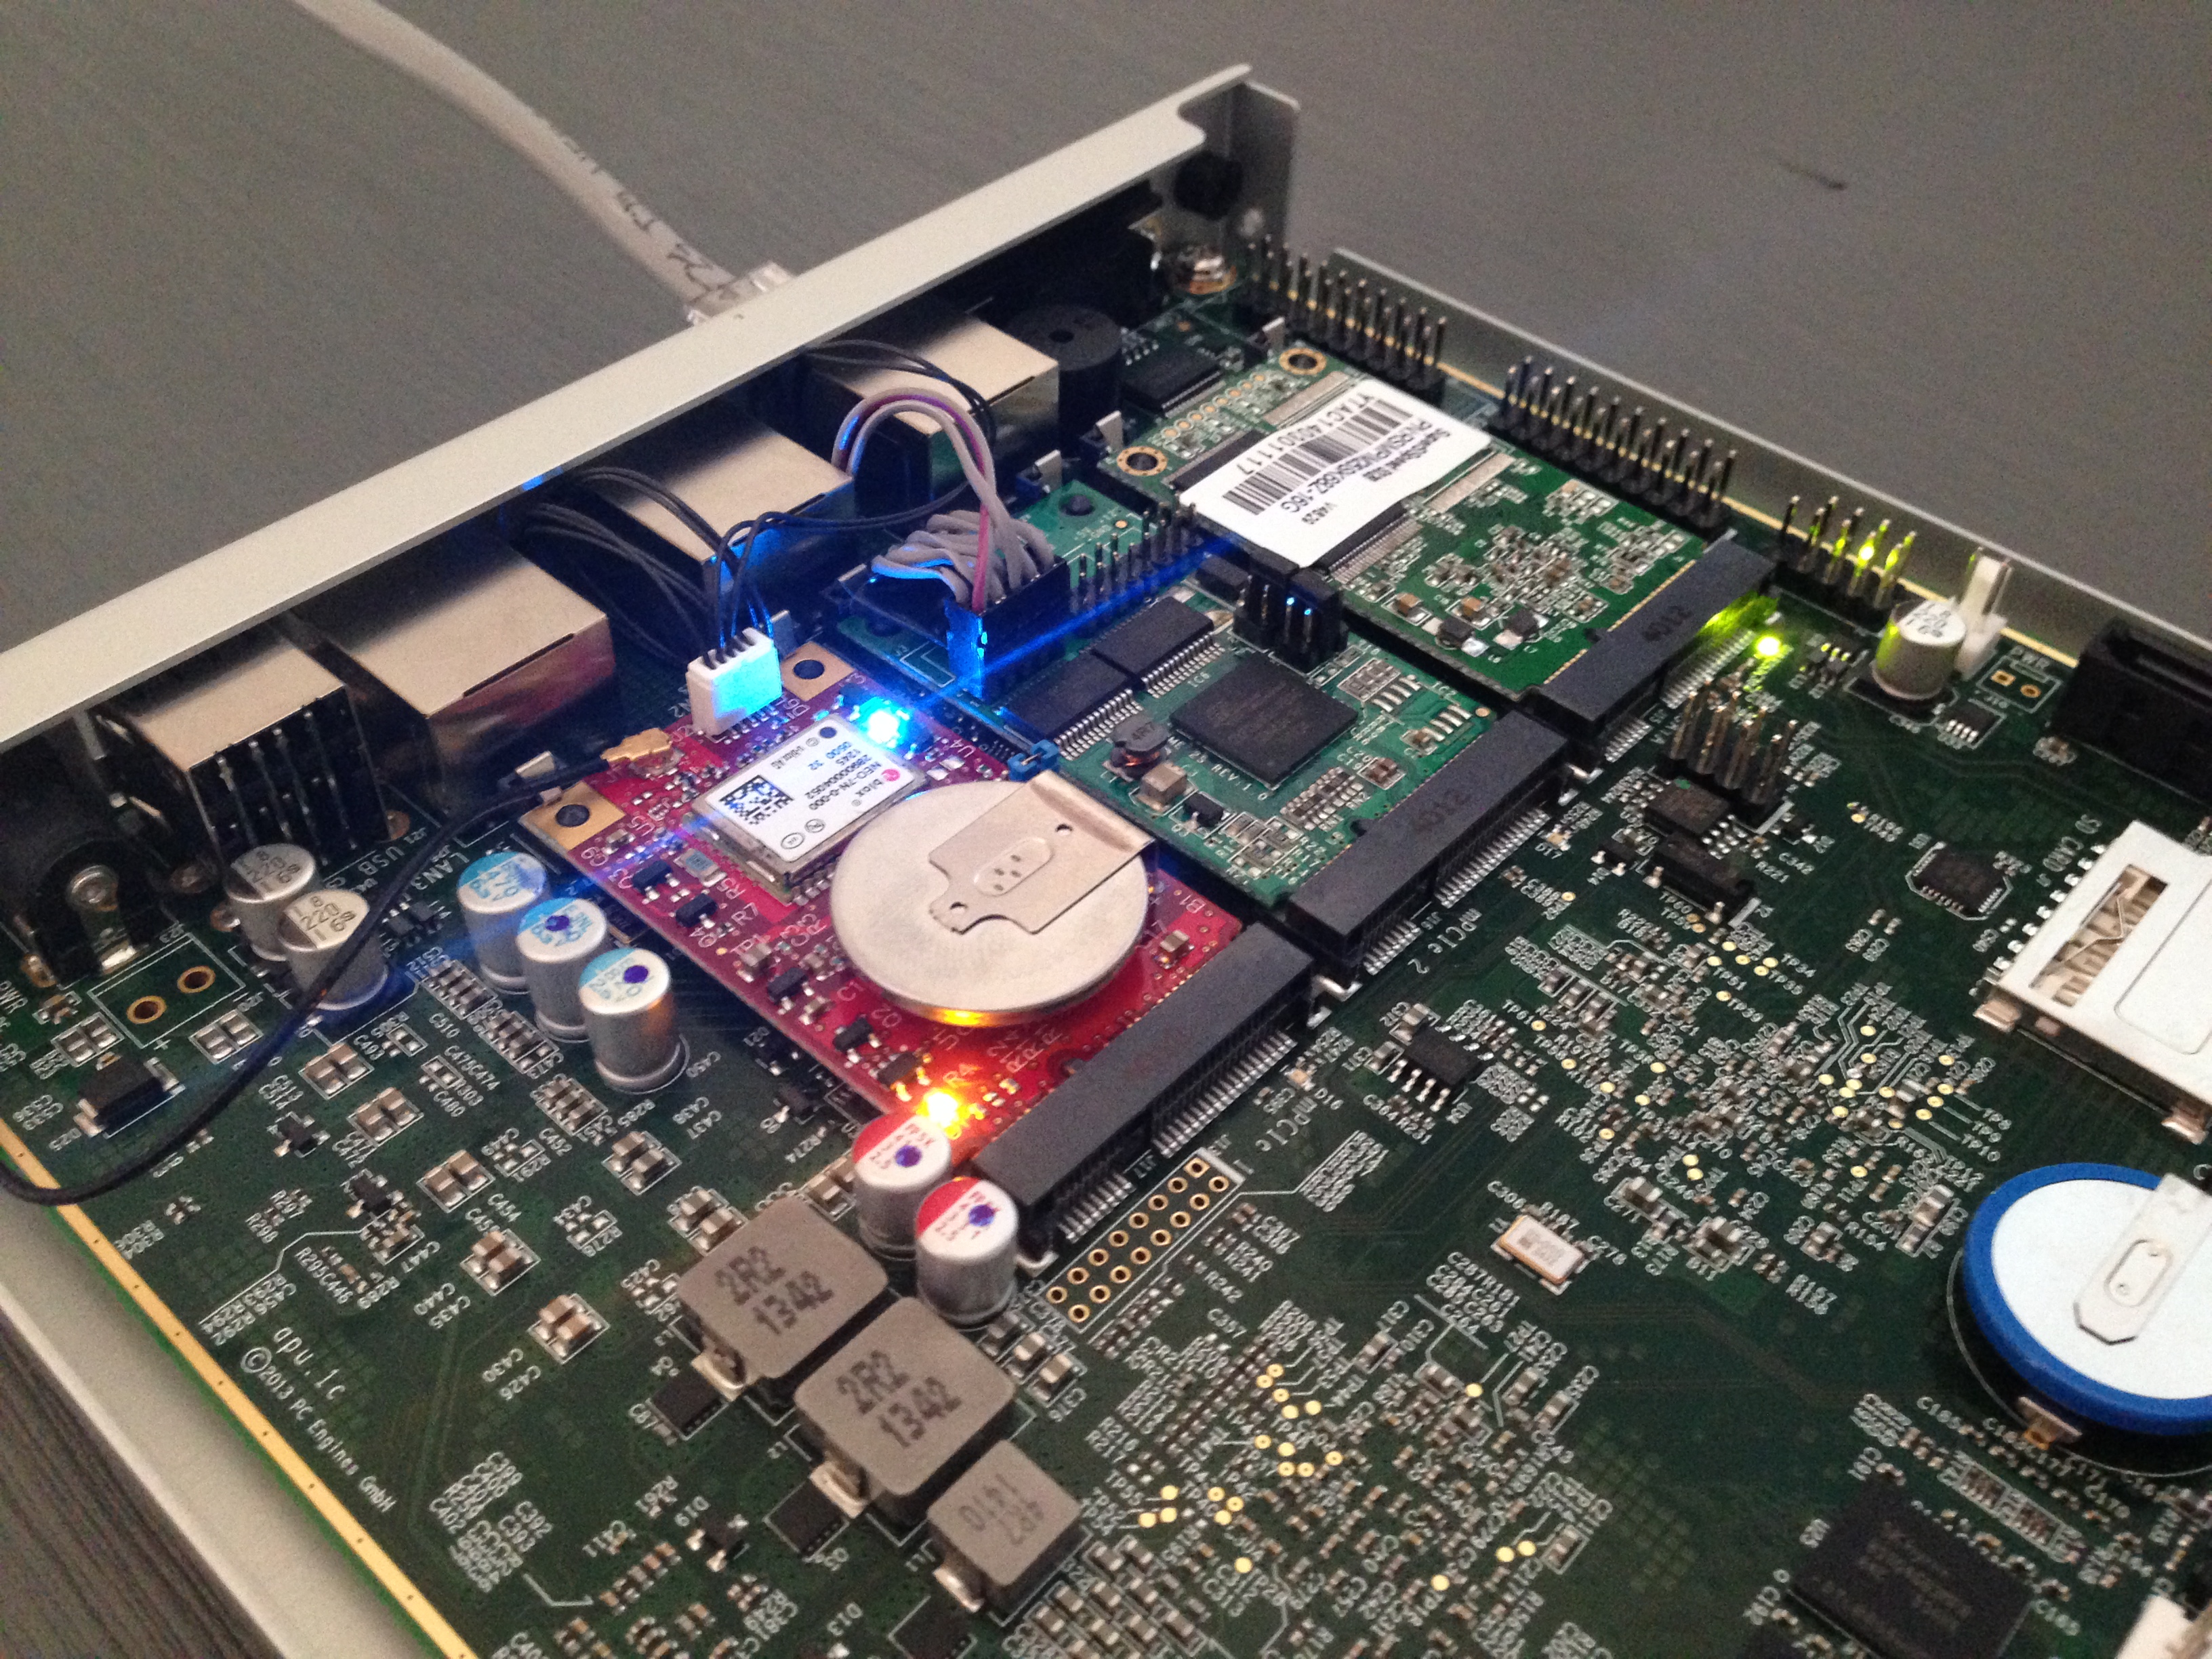
- Install an mSATA SSD.
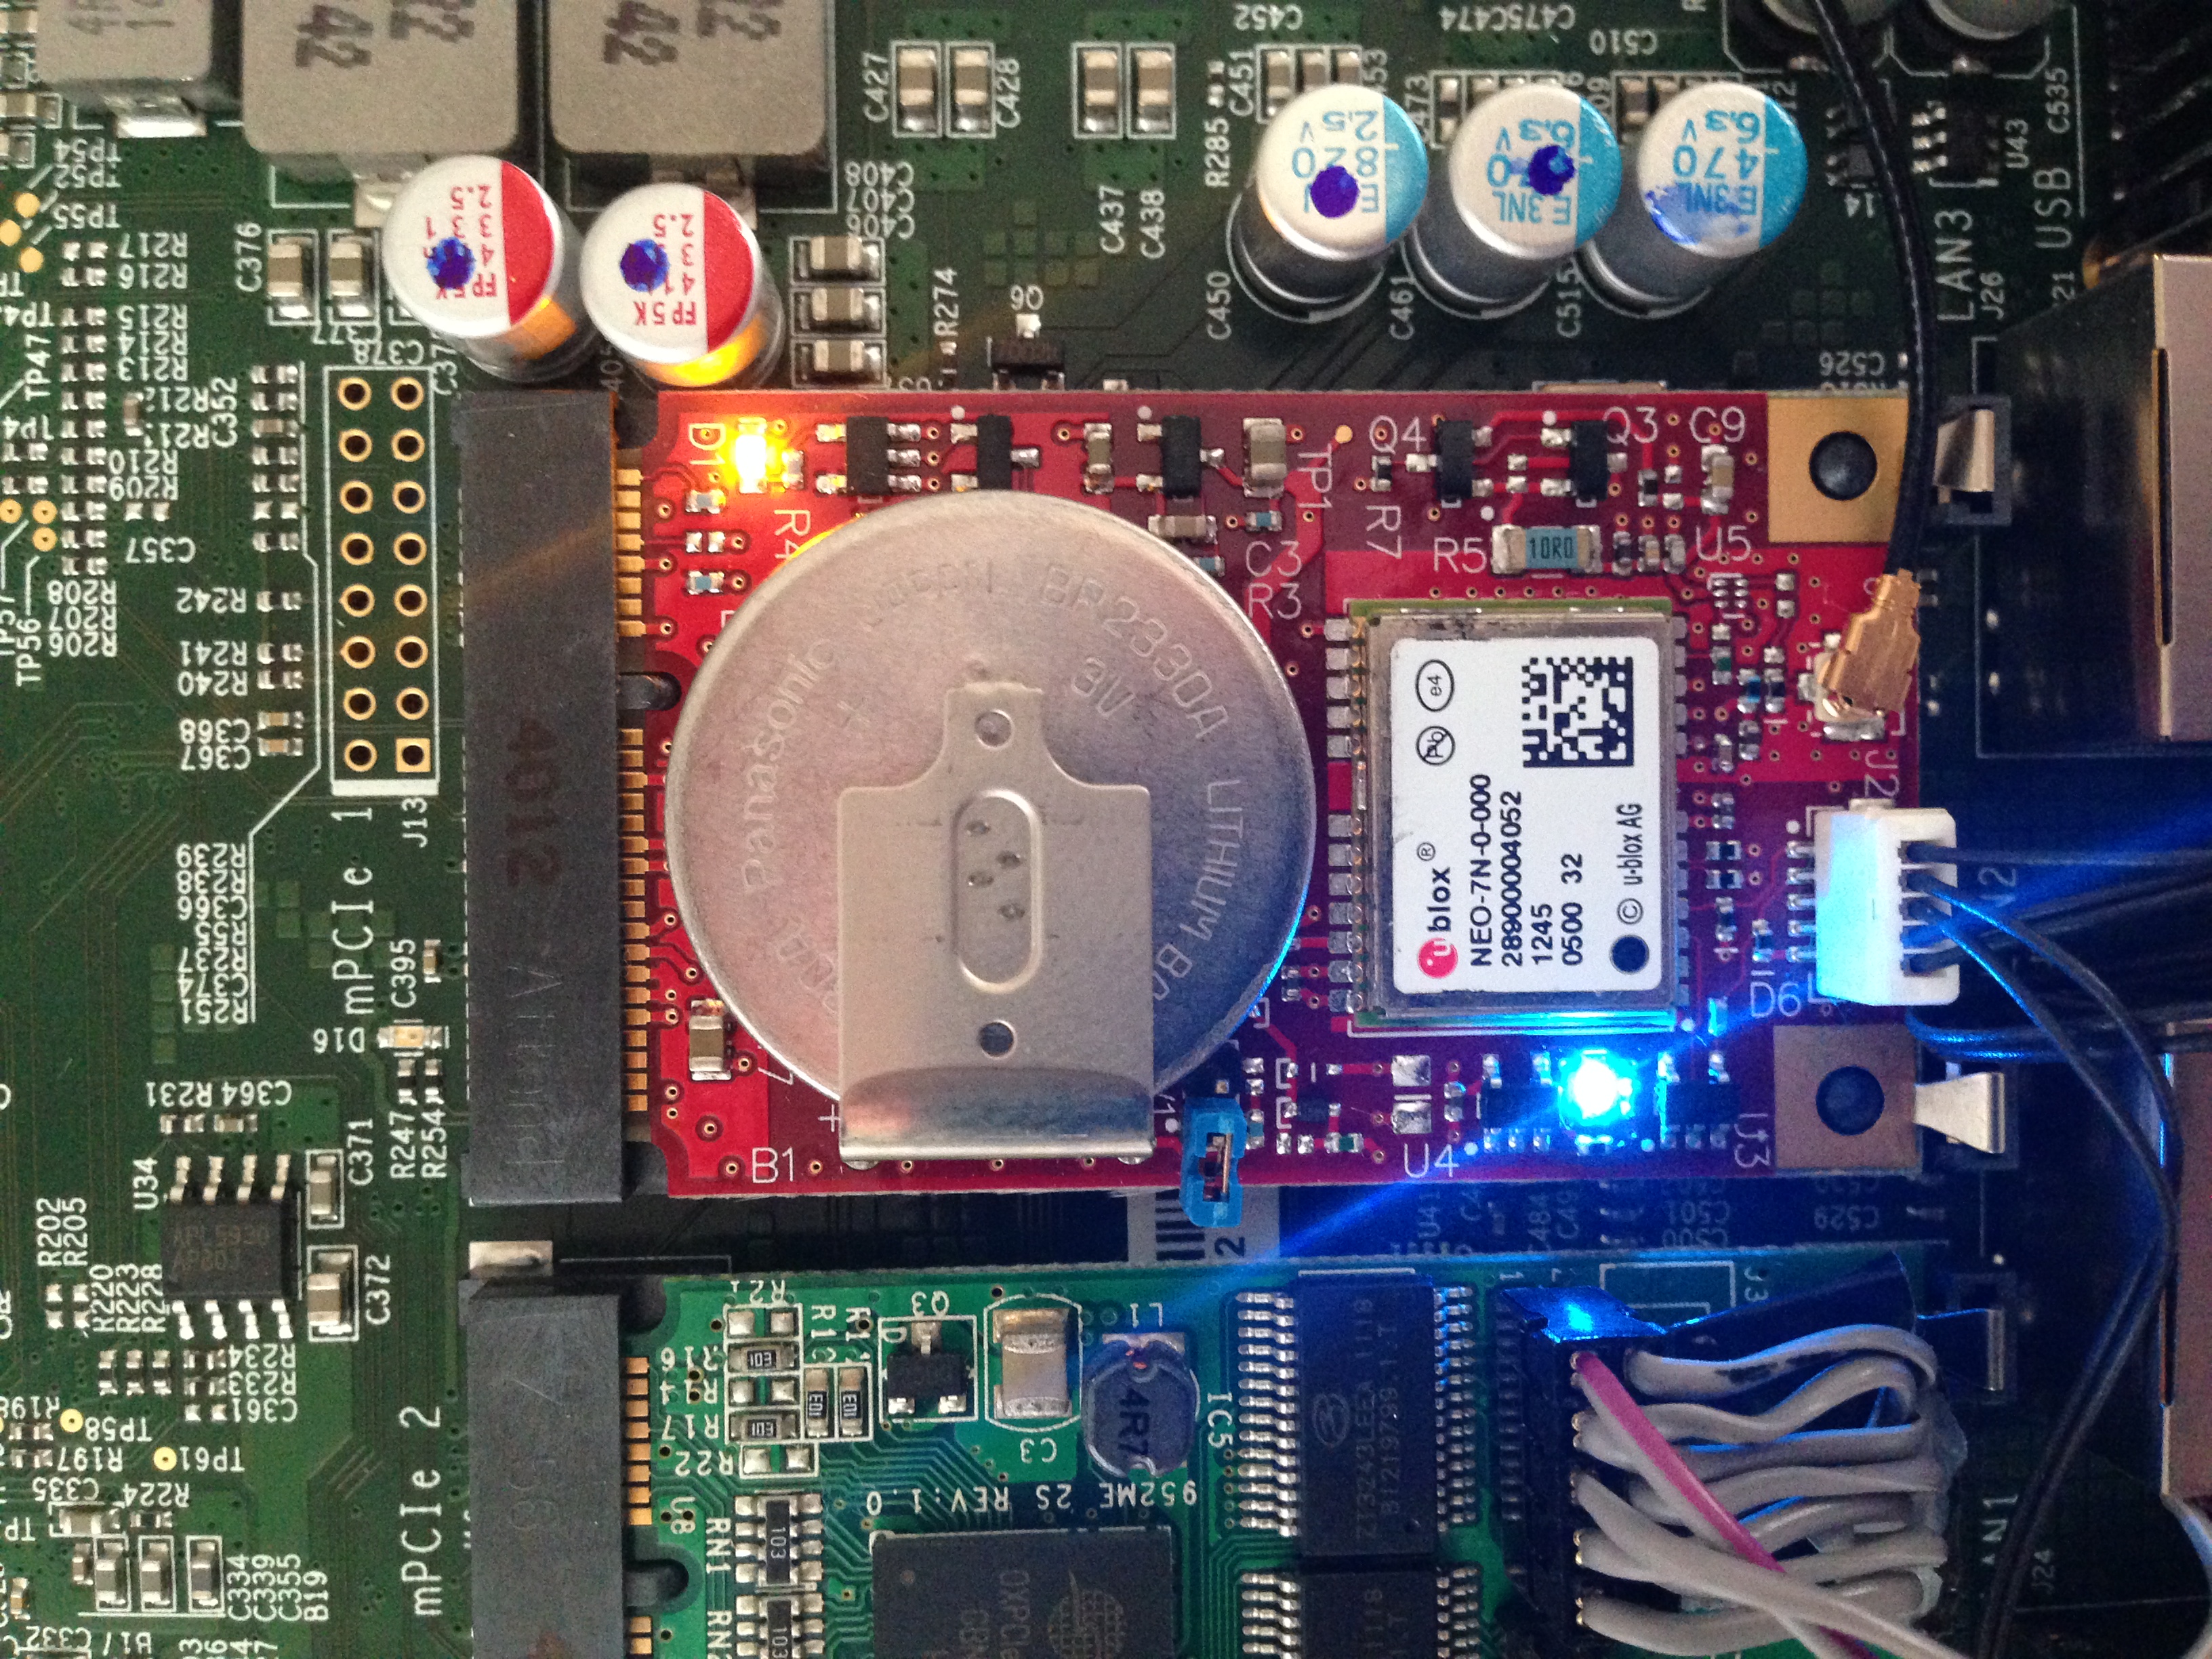
- Install the Versalogic GPS module.
- Install the StarTech serial port module.
- Connect Versalogic TIME_PULSE, GND (pin 2, 3) to serial DCD, GND (pin 1, 5).
- Connect U.FL - SMA pig-tail to GPS module and connect the active GPS antenna.
Install and configure OS
- Install Voyage linux using PXE (network) or USB.
- After installation, log in as root (password voyage) and remount read/write.
# remountrw
- Create non root user.
useradd username
passwd username
- Change hostname /etc/hosts /etc/hostname, configure network.
- Change apt mirrors in /etc/apt/…
- Install prerquisites.
apt-get install dialog setserial
- Update.
apt-get update
apt-get upgrade
- Configure time zone.
dpkg-reconfigure tzdata
- Configure locale.
apt-get install locales
dpkg-reconfigure locales
- Edit Voyage Linux config to enable writing to ntp drift file. Edit /etc/default/voyage-util
VOYAGE_SYNC_DIRS="var/lib/ntp"
Install and configure gpsd
- Install gpsd.
apt-get install gpsd gpsd-clients
- Reconfigure gpsd, add -n option
dpkg-reconfigure gpsd
Install and configure NTPd
- We need to compile NTP to enable ATOM PPS support.
(apt-get remove ntp)

cd /root
apt-get install dpkg-dev dialog devscripts fakeroot pps-tools

apt-get source ntp && apt-get build-dep ntp

cd ntp-4.2.6.p5+dfsg
debuild -us -uc

cd ..
dpkg --install ntp_4.2.6.p5+dfsg-2_i386.deb
dpkg --install ntp-doc_4.2.6.p5+dfsg-2_all.deb
- Configure NTPd to run at the highest priority. Edit /etc/default/ntp
NTPD_OPTS='-g -N'
- Create PPS device and set low_latency. Add udev rules. Create /etc/udev/rules.d/gps.rules.
KERNEL=="ttyS2", SYMLINK+="gps0"
KERNEL=="ttyS2", RUN+="/bin/setserial -v /dev/%k low_latency"
KERNEL=="ttyS2", RUN+="/usr/sbin/ldattach pps /dev/%k"
- Configure /etc/ntp/conf.
# Allow more distance between GPS (USB) and Serial PPS.
# Stratum level 12 when no ref source available
tos mindist 0.100 orphan 12

driftfile /var/lib/ntp/ntp.drift
leapfile  /var/lib/ntp/leap-seconds
statsdir  /var/log/ntpstats/

statistics loopstats peerstats clockstats
filegen loopstats file loopstats type day enable
filegen peerstats file peerstats type day enable
filegen clockstats file clockstats type day enable

# Local servers
server ntp1.polaire.nl
server ntp2.polaire.nl
server ntp3.home.polaire.nl

# ATOM PPS (/dev/pps0)
server 127.127.22.0 minpoll 4 maxpoll 4
fudge  127.127.22.0 refid PPS

# GPS (USB /dev/ttyACM0)
server 127.127.28.0 minpoll 4 maxpoll 4 prefer
fudge 127.127.28.0 refid GPSd
fudge 127.127.28.0 time1 0.063

# By default, exchange time with everybody, but don't allow configuration.
restrict -4 default kod notrap nomodify nopeer noquery
restrict -6 default kod notrap nomodify nopeer noquery

# Local users may interrogate the ntp server more closely.
restrict 127.0.0.1
restrict ::1
- Reboot and check results.
Verify
- Make sure gpsd and ntpd start at boot.
update-rc.d ntp enable
update-rc.d gpsd enable
- Test PPS reception.
# ppswatch /dev/pps0
trying PPS source "/dev/pps0"
found PPS source "/dev/pps0"
timestamp: 1403289214, sequence: 11, offset:  81613988
timestamp: 1403289214, sequence: 11, offset:  81613988
timestamp: 1403289215, sequence: 12, offset:  81607583
timestamp: 1403289215, sequence: 12, offset:  81607583
timestamp: 1403289216, sequence: 13, offset:  81609303
timestamp: 1403289216, sequence: 13, offset:  81609303
timestamp: 1403289217, sequence: 14, offset:  81601958
^C
- Check ntpq status. The 'o' means, PPS is working.
$ ntpq -p
     remote           refid      st t when poll reach   delay   offset  jitter
==============================================================================
 ntp1.polaire.nl .PZF.            1 u   47   64    1    0.270   12.367   0.001
 ntp2.polaire.nl 95.97.208.29     2 u   48   64    1    0.293   12.720   0.001
 ntp3.home.polai .DCF.            1 u   47   64    1    0.300   13.941   0.001
oPPS(0)          .PPS.            0 l    -   16    7    0.000   12.355   0.102
*SHM(0)          .GPSd.           0 l    2   16    7    0.000    1.188   1.431

# After a while...

     remote           refid      st t when poll reach   delay   offset  jitter
==============================================================================
+ntp1.polaire.nl .PZF.            1 u   56   64  377    0.292   -0.099   0.075
-ntp2.polaire.nl 95.97.208.29     2 u   50   64  377    0.289    0.638   0.086
+ntp3.home.polai .DCF.            1 u   41   64  377    0.237    1.656   0.048
oPPS(0)          .PPS.            0 l   15   16  377    0.000    0.027   0.003
*SHM(0)          .GPSd.           0 l   16   16  377    0.000   -8.657   2.708
Leap second file
Automatic download of new leap second file.
- Install lftp.
apt-get install lftp
- Create leap second download script /usr/local/bin/get_leap.sh
- Change executable mode
chmod +x /etc/cron.weekly/leapsecond
Configure, firmware update ublox NEO-7 module
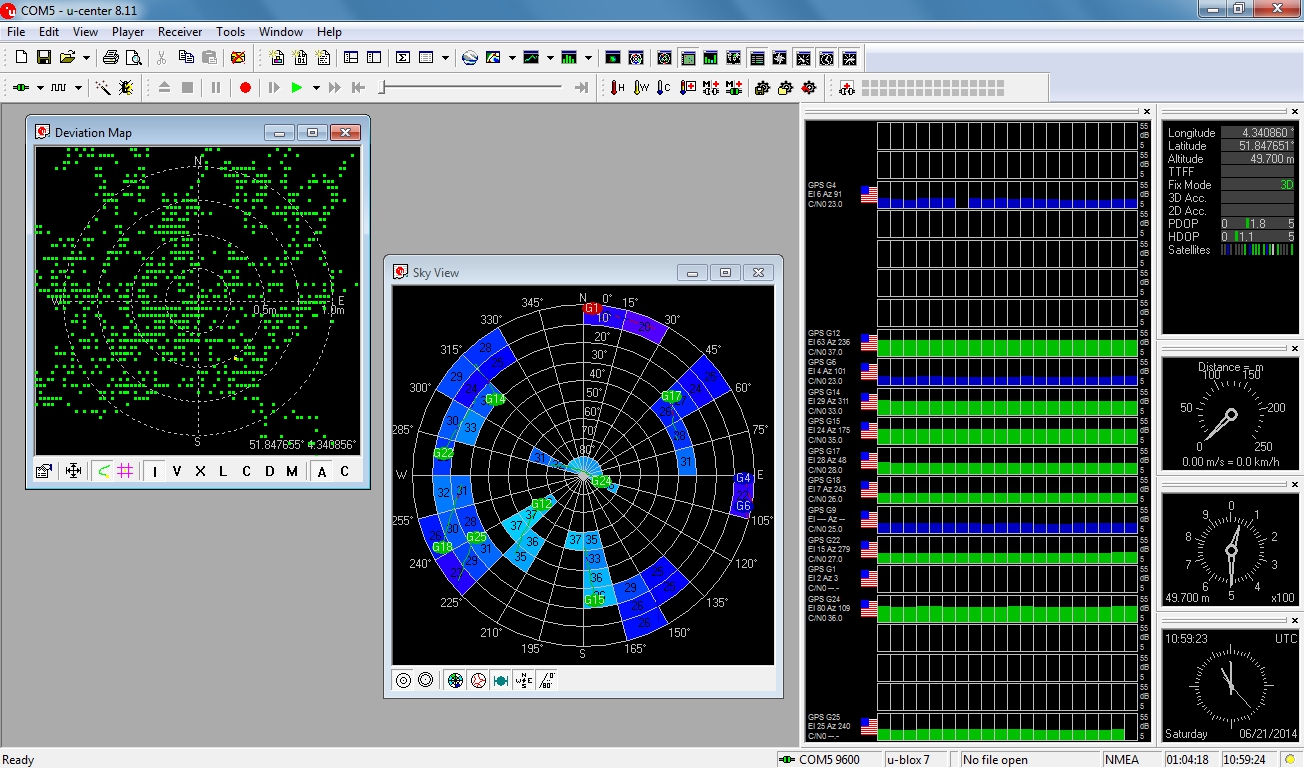
The module is in a embedded device and you cannot run Windows on the APU system board. The following directions will let you pass through the serial device to a Windows computer over the network. Then you will be able to run the u-center GNSS evaluation software for Windows.
APU config
- Install socat.
apt-get install socat
- Stop NTPd and gpsd.
service ntp stop
service gpsd stop
- Connect serial to TCP port.
socat file:/dev/ttyACM0,raw,echo=0 tcp-l:3006,fork&
Windows config
I'm using Windows 7 in this example.
- The com0com.sys is a test-signed kernel-mode driver that will not load by default. NOTE: Enabling test signing will impair computer security. To enable test signing, enter command:
bcdedit.exe -set TESTSIGNING ON
- Reboot
- Download and install com0com and com2tcp http://sourceforge.net/projects/com0com/files/?source=navbar
- Launch setup to determine virtual com port pair. In my case it's COM5 ⇔ COM6
- Start cmd.exe, run:
com2tcp.exe --ignore-dsr \\.\COM6 1.2.3.4 3006
- Download and install u-center http://www.u-blox.com/en/evaluation-software/u-center.html
- Run u-center, go to Receiver → Port → COM5
- Receiver → Generation → u-blox 7
Screenshot
Recommended settings for timing applications
- SBAS → Subsystem: Disabled.
- (not supported by u-blox 7) TMODE2 → Survey-in. If the position is known, the receiver can provide an accurate time solution by tracking only one satellite. For an unknown position, the receiver needs a minimum of four satellites to calculate a position fix and to solve for a timing solution. This is known as survey-in and can be chosen using the UBX-CFG-TMODE2 message. It is recommended to use survey-in only for non-moving platform applications. For optimal performance a known fixed position of the antenna should be used.
- NAV5 → Dynamic Model: Stationary
- NAV5 → Min SV Elevation: 10
- Save config, restart receiver. Receiver → Action → Cold start
versalogic_vl-mpeu-g2_ntp.txt · Last modified: 2021/10/09 15:14 by 127.0.0.1


